Belle Terre’s Blog is Moving

Time for some change in our lives.  We’ve relocated our blog to our very own address (how fancy!).

If you are a Belle Terre blog email subscriber (or would like to be), please click here and scroll down to the bottom of the page to re-subscribe.

Thanks ever so much 🙂

Leave a comment

Filed under Uncategorized

To add or not to add….

….that is the question.

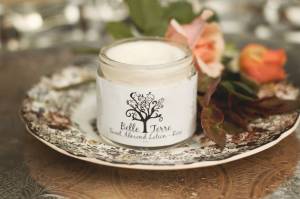
Rose Lotion

For quite some time now, we’ve been struggling with the idea of preservatives in lotion.  We have come to a decision that we are at peace with for now, but we have been asked about it many, many times so I wanted to share our thought process with you.

Initially all our products were 100% natural.  We started the business with that in mind and every time we had to make a choice, we would return to that underlying decision and use it to guide us.

Lotion has always been a problem for me.  Like soap, I have a hard time using what is available in a grocery store or drug store.  My face in particular was in issue.  My skin is very dry and very sensitive and anything with a fragrance was literally painful to apply.  For many years I was stuck using a dermatologist-recommended lotion that I had to buy at a pharmacy.  Very expensive and full of ingredients that I couldn’t read or pronounce if I tried.

It was an easy step for me to being making natural lotions.  I used my skin and face as a test to see how things felt to me and how my skin felt after using them for a period.  After quite a bit of trial and error, we found a recipe that seemed to work.

After doing a significant amount of research on natural lotions, I became quite concerned about customer safety.  The short version is this: natural lotion is a mix of oil and water.  It is moist on purpose and is kept in a closed container.  People apply it to their skin by taking their fingers and dipping it into the lotion, then using fingers and hands to apply to to their skin.  Unfortunately, this means there is no way to avoid introducing bacteria.  Most of us know that if you add bacteria to a moist, dark place, it will thrive.  Bacteria heaven.  Also fighting against us was the idea that this bacteria is not always visible.  Sometimes you will see the mold, other times it will just live in the lotion and you may not realize it.

It’s hard for us to say our goal is to be natural because it’s healthier for us and the environment if our choices are exposing people to anything potentially harmful.

With that in mind, we made the decision to include some sort of preservative and moved on to decide what would be the best option. We’ve spent several months trying desperately to find something that worked for us. We had finally decided on pottasium sorbate only to find out that it  would not truly protect from bacteria and that it was significantly changing the texture of our lotion.

After contacting fellow natural care product sellers and much hesitation, we chose to use Liquid Germall Plus. It’s not what I would like to use in an ideal world, but it honestly appears to be one of the better options. We chose it because it is paraben free and the minimum amount required for effectiveness is very low (.5%).  The perservative is made up of: Propylene Glycol, Diazolidinyl Urea, and Iodopropynyl Butylcarbamate.

For anyone who is interested in researching the contents of cosmetics (I highly recommend it….it’s an eye opening experience), the Skin Deep’s Cosmetic Database is a fantastic resource.  If you were to search each of the preservative ingrdients mentioned above, the item of concern to most people is iodopropnyl butylcarbamate.

As I mentioned, Liquid Germall Plus is .5% or so of our lotion recipe.  Of that .5%, 0.002% is iodopropnyl butylcarbamate. To put that number in perspective, we make everything in small batches and at most pour 16 ounces of lotion at a time. In that entire batch, we add less than 0.01 ounce of the preservative which means that we’re adding approx. 0.0003 ounces of iodopropnyl butylcarbamate. That batch makes 8 jars of lotion.

As soon as someone releases a natural preservative with proven effectiveness, I plan to switch even if it means changing our formulation.  In the meantime, our only other option is to discontinue our lotion line completely, which we discussed many times, but I truly feel that having a lotion that is 99.9% natural is a much better alternative than the commercial options available.

I hope this open dialog helps to clarify the decision we have made.  If you have any questions or concerns, we would be happy to answer them.

Leave a comment

Filed under Soap & Such

Farm Update: Oh deer!

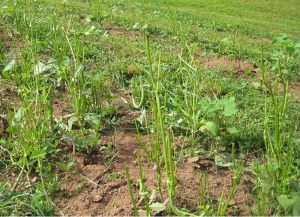
We have known for some time that there are unique challenges to trying to grow crops on our land before we had moved out there.  We thought we had most of the bases covered: plant a hearty crop that doesn’t require daily care, plant a crop that doesn’t have a small harvest window and plant a crop that will build up the soil for future crops.  We didn’t think about the fact that with all the readily available vegetation around our land that the local deer population would consider our 400 bean plants such a delicacy.  We were wrong.

For any city slickers who aren’t sure what is wrong with this picture; there should be leaves on those stems.  🙂  I wasn’t really sure what to do so I decided  just to weed and mow and hope that the plants survive.  If not, they will have served part of their dual purpose: to fix nitrogen in the soil for fall planting.

About a week ago we decided to plant a row of flowering perennials on each end of the garden rows to attract beneficial insects and create a more balanced eco-system.  Ironically, the deer decided to avoid those completely.

The flower varieties that we have added so far include Russian Sage (Wayne’s favorite), Agastache, Coneflower, and Anise Hyssop.

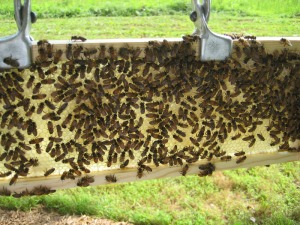
The second chore for the day included checking on the bees and putting in some new wired foundation.  When we put the frames in the hives we include a thin layer of wax (known as foundation) so the bees are able to get a head start on building out their comb.  The foundation we put in when setting up these hives had no wiring in it so when it got hot the wax softened and flopped over creating a less than ideal environment for our bees.  You can read more about that little oopsie at our other blog –  Julia’s Bees.

Here is a picture I took looking between the tops of two frames, into the hive.

You can see the layer of wax that is laying down across the bottom of the frames.  Normally this would be standing up in the frame as demonstrated in the picture below.

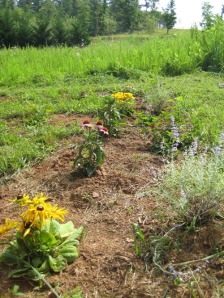
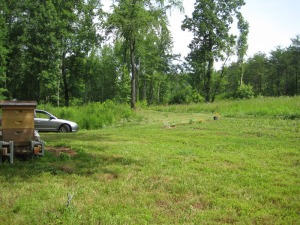
After getting the slight bee problem corrected, I took a break.  I normally like to walk around the land and take a picture or two to share but 3+ hours in the sun convinced me that it would be best if I just sat down and relaxed.  While doing this I snapped a shot of the open portion of our land.

I like this picture, because it includes the bees, the beans (sans leaves thanks to the deer), and the blueberry plants (a bit hard to notice but in the clearing on the far side of the picture).  My goal is to get the grass down to where it is manageable by the end of summer so we can do a sizeable fall planting of bushes, trees, and winter crops.  Wooohooo!

Leave a comment

Filed under The Farm

Wrap-up: Atherton Market

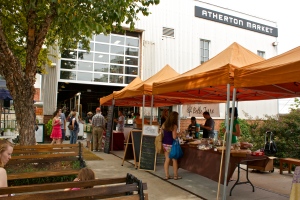
Last weekend was our very first Saturday at Atherton Mill & Market.  Wayne and I both adore this market and we had a fantastic time.  I, of course, ran around with my camera a bit, but I didn’t get a good picture of the entrance.  Thankfully another blogger came to my rescue.  You can even see Wayne and I in the picture below (a rarity since I’m always behind the camera!).

Atherton Mill & Market(photo borrowed from Life Undeveloped)

Saturdays at Atherton are quite a bit busier than the weekdays.  There are more vendors, more visitors, and some entertainment.  We had a fantastic time listening to Mike Bustin for a good portion of the morning.  He had everyone singing along or (at least) tapping their feet.

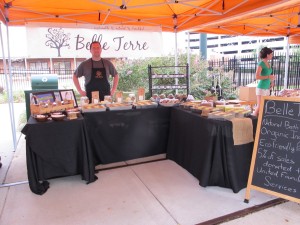
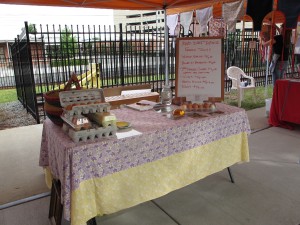
We spent the day outside under one of the orange tents.  The weather cooperated and it was quite pleasant.  There were four or five of the vendors outside.  We tried a slightly different setup and were quite happy with the result:

Belle Terre at Atherton

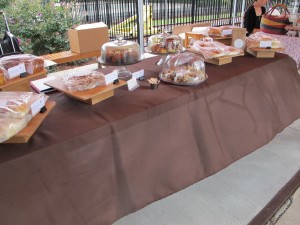
Next to us was Round Table.  Lots of sweets and breads. Yum!  She had quite the following and sold out early.

Round Table

And beside that was Red Dirt Ranch.  Wayne has spent a bit of time talking to them other days.  We were excited to learn that they are off grid!

Red Dirt Ranch

The other side of us was a pasta vendor – Rio Bertolini’s – selling pasta made in Charleston.  I pre-ordered a mess of stuff for Wayne to bring home including a beet and goat cheese ravioli.  Doesn’t that sound amazing?

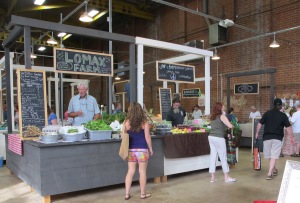
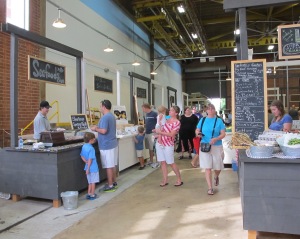
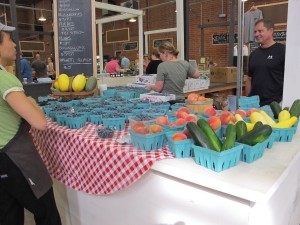
Heading inside, the building itself is absolutely gorgeous.  It’s an old mill that was converted into areas for several businesses.  The market portion was left open with high ceilings.  It retains that industrial/rustic charm that is so appealing.

Inside Atheron

More Atherton

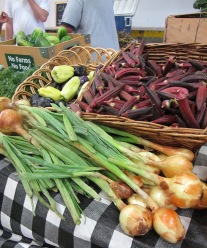
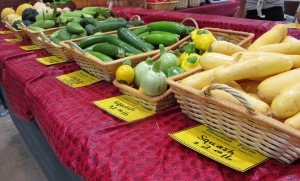
And oh the produce….everywhere I looked it was so colorful.   There’s a wide selection of farms to choose from including JW’s, Coldwater Creek, Houston, Lomax, and Windy Hill.

Produce

Produce

Blueberries

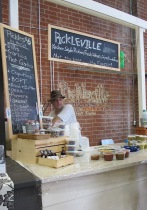
Although Atherton is a comparatively small market (for Charlotte at least), it has everything you can imagine.  Literally.  Seafood, meat, cheese, veggies, fruit, honey, even pickles:

Pickleville

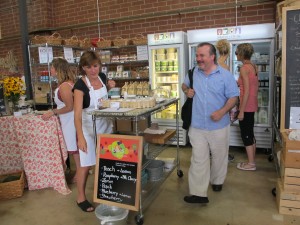
Simply Local offers a fantastic selection of local cheese, butter, eggs, and milk.  It’s like a mini grocery store.

Simply Local

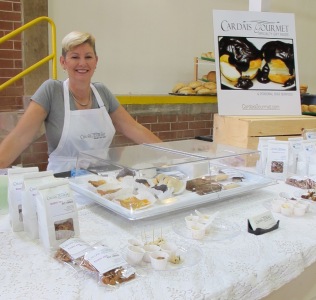
There is also no shortage of sweets.  There’s a chocolate vendor and Wayne is particularily fond of the cookies at Cardais Gourmet.

Cardais Gourmet

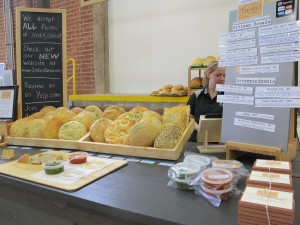
And Dukes bread is amazing.  That’s Ellen, one of the owners, hiding behind the sign.  Not only do I love their bread, but I tried their tomato oil for the first time on Saturday and left Wayne very specific instructions to bring some home on Tuesday.  So yummy.

Duke's Bread

There’s also a chocolate vendor, roasted nuts, and several other non-food vendors.

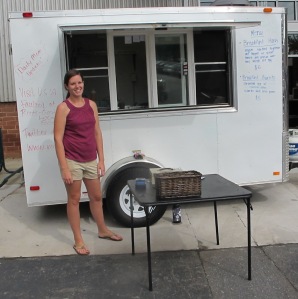
All that, and this little food truck was the highlight of my day.  I’ve read quite a bit about the food at Roots, but had not yet had the opportunity to try it.  What a surprise to see them pull up!  I wandered over early and ordered a breakfast burrito.  It was amazing.  I saved a bite for Wayne who headed over for the breakfast hash – it was even better (if that’s possible).   I would have taken pictures, but the food honestly didn’t last long enough.

Roots

If I lived in the area, I would definitely be doing my Saturday shopping at Atherton.  I’m excited to bring my mother & sister along next time we head this way to spoil them with the selection.

Wayne will be at Atherton most Tuesdays and Wednesdays and we hope to join our fellow vendors for more Saturdays soon.

Leave a comment

Filed under Soap & Such

Food Preservation: Pickling Beets

I had a bit of time this past weekend, so it was decided it was a perfect opportunity to preserve some of the fantastic veggies we are seeing at the farmer’s market.

Although I have canning books galore, I can never resist adding another to the collection.  With that in mind, I picked up this magazine from the grocery store:
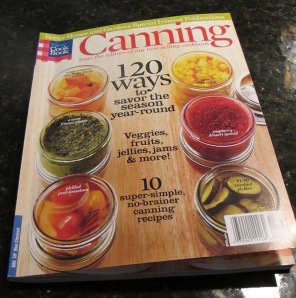
canning recipe book

My mom and I sat down and read through it arguing about what was in season and what we’d like to eat.  We finally came to an agreement: pickled beets.

Our next order of business was to locate a beet source.  Thankfully we have a fantastic local organic farm that sells at the Hickory farmer’s market.  My parents participate in Tumbling Shoal’s CSA so mom called Shiloh and requested a case of beets.
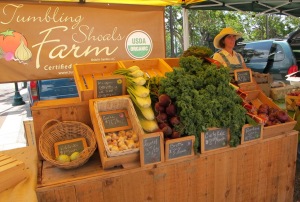
Tumbling Shoals Farm

On Saturday morning we made our way to the market to pick up our 15 lbs (!!) of beautiful, organic beets.  They arrived greens-free (one less step for us), but definitely needed some cleaning.
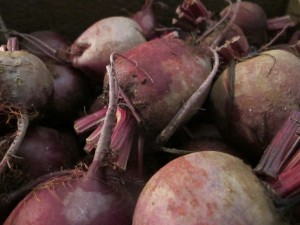
Beets Galore

While the beets were soaking in some cool water we grabbed the remainder of the ingredients needed.  As promised on the cover of the magazine, it really is an easy recipe.  Vinegar, water, and sugar are cooked down slightly to form the syrup and pickling spices (cloves, cinnamon, and all spice) are wrapped in cheese cloth and dropped in the pot while cooking.  The syrup takes less than 10 minutes total.
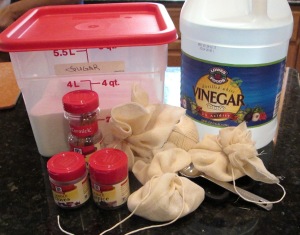
Pickling Ingredients

After soaking, I scrubbed the beets a bit to remove most of the dirt then dropped them into a rather large pot of boiling water.  The beets need to cook for 30 minutes or until tender.  We had so many beets that we did this in two batches.

Since the canner is so large, I filled it and started it while the beets were cooking.  The hope is that it is at a rolling boil by the time you get around to adding jars.
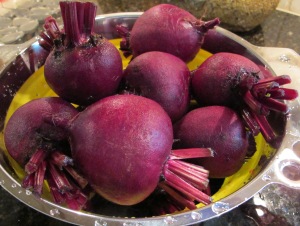
Beets Washed

After cooking, I strained out the beets and dropped them into a bowl of ice water.  Like with peaches and tomatoes, cooling them quickly loosens the skin and makes peeling a breeze.  For beets, I highly recommend gloves and dark clothing.   They are messy, and the juice definitely stains.
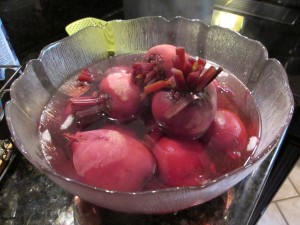
Cold Water Soak

Once they’ve cooled slightly, you can pick up an individual beet and using your fingers, pull the skin right off.   After peeling, rinse them slightly to remove any ickiness that may still be present, cut out any bad spots, remove the top and bottom, and cut them into quarter pieces.

Depending on the size of the beets and the jar size you choose, you may have to cut them smaller.  We started with the larger pieces below and realized quickly that half the size would be better option.
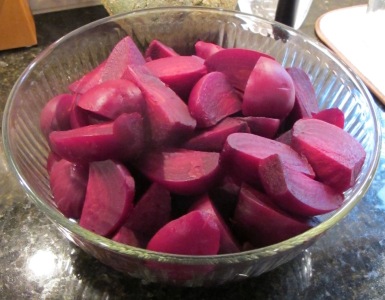
Beets peeled & chopped

We used half pint jars which is what the original recipe suggested.  We found that filling the jars was easiest by hand (keep the gloves on for this part as well!).  We simply picked up the beets and drop them in the jar, using our fingers to ensure as little space in the jar as possible.    After filling each jar, we ladled the hot pickling syrup over the beets leaving 1/4 – 1/2″ head space.  We then wiped each rim carefully with a clean, damp rag, then added the lid and band.  It’s important to make sure your band in on firmly, but not overly tight.
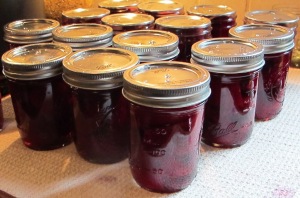
Reading for Canning

And into the canner they go.  I always prop the rack on the outside of the canner to fill and then use my fingers to carefully lower it back in.  This is easy the first time, but by the second batch the metal is quite hot, so do be careful.

When you open the canner to add the jars, it will often stop boiling.  It’s important to start the processing time only when the canner has returned to a rolling boil.
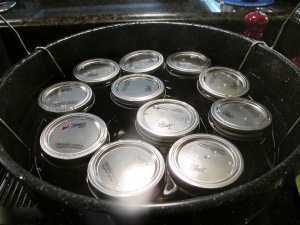
Into the Canner

Each batch of beets were processed for 30 minutes in the canner.  We had so many beets (and so many jars) that we did three separate batches.

When each batch finishes, I use tongs to lift the canning rack (keeping it as even as possible), and prop it again on the side of the canner.  This is a talent that I have not yet perfected.  Beware of splashes of boiling water…not fun.  Once the rack is up, the rest is easy.  I bought jar lifters ages ago that I love (they are cheap too!), and I use them to lift out each individual jar.  Some recipes tell you cool on a wire rack.  I find that a folded towel on the counter works just as well.

The jars should sit undisturbed overnight.  The next morning carefully check each seal by pressing down on the middle of the jar top.  You shouldn’t feel any give and definitely should not hear any popping.  Anything jars that move/pop at this point should be put in the fridge and consumed soon.  For the others, you want to re-tighted your bands (they loosen slightly during processing), write the date and contents on the top of the jar or on a label, and put them in a cool, dark place for storage.
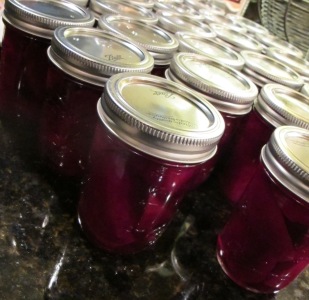
Waiting for canning

Total time start to finish: 5 hours

Total output: 35 half pint jars of beautiful, organic pickled beets

Completely worth it!  🙂

Leave a comment

Filed under Food Preservation